This blog will show you my self built PowerShell based Hyper-V Manager for my work laptop. I work as an IT consultant at Advantive. During my work I do have the need for testing things on virtual machines running Windows Server or Windows 10/11 client OS.
The built in Hyper-V works perfect for this. It only lacks an easy way of deploying templates of Windows OS images. Therefore I created a PowerShell based Hyper-V Manager that does exactly this. The script works on Windows 11, but should also work on Windows 10 or even Windows Server.
Features of my solution:
- Save disk space due to VHDX differential disks.
- Deploy new Windows based VM with default size and default settings in just a minute.
- Allow connectivity from Hyper-V host to VM with an Internal Network, for example to use RDP to enter the VM.
System Requirements
- Modern Intel or AMD CPU that allows Hyper-V to work.
- 16 GB will work, but 32GB or more memory recommended. (the memory is for the Hyper-V Virtual Machines)
- SSD disk with at least 100GB or more free. (more VMs means more space is required)
- My setup has an 127GB OS disk, and a 200GB Hyper-V disk. This can be two physical SSDs or 1 SDD partitioned.
We need a few steps to get this to work.
- Enable the Hyper-V role on Windows 11
- Create the folder structure
- Configure Hyper-V network
- Create VHDX templates
- Configure the script
- Test the script
Enable the Hyper-V role on Windows 11
Login with Admin permission on you Windows 11 laptop.
- Press the Windows key + R to open the Run dialog box.
- Type appwiz.cpl and press Enter.
- In the Programs and Features window, select Turn Windows features on or off in the left-hand pane.
- In the Windows Features window, scroll down to Hyper-V and check the box next to it.
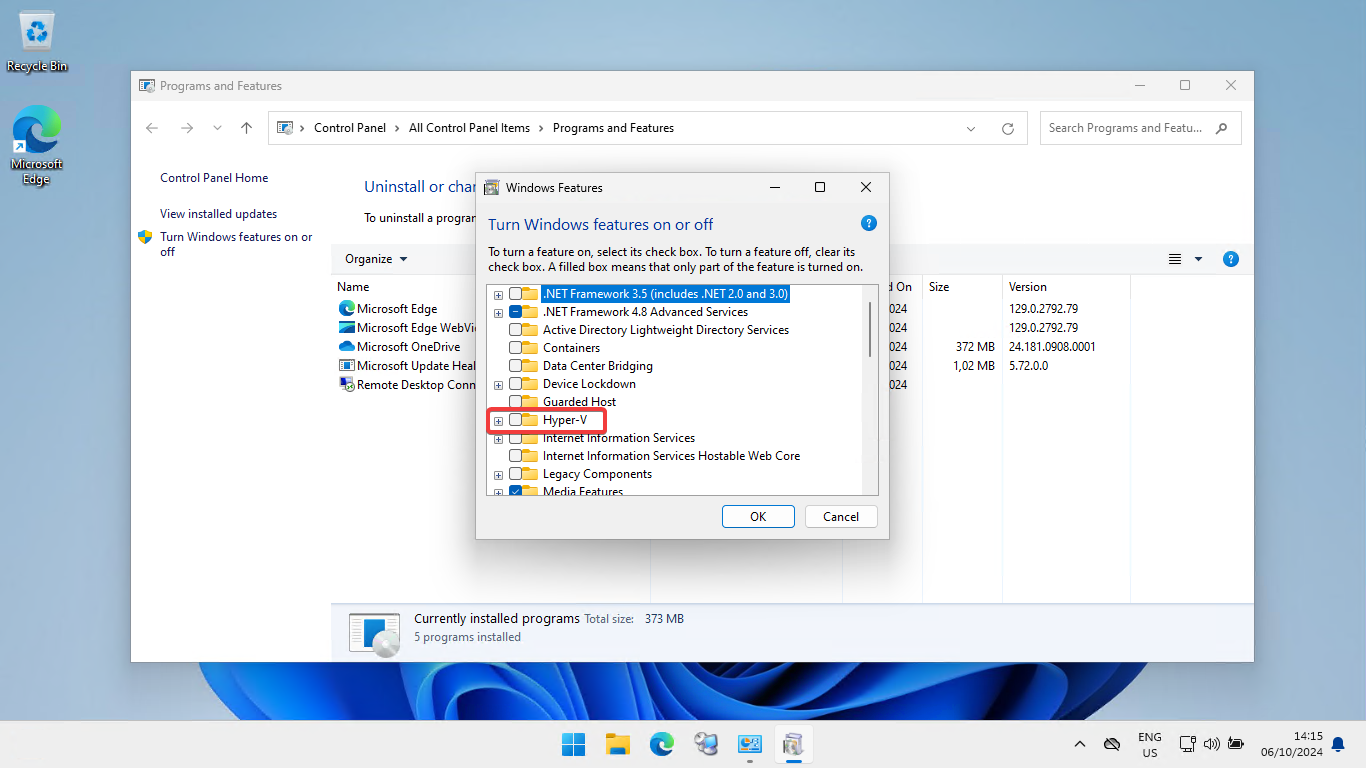
After the installation your machine has to reboot.
Create the folder structure
In my setup I use this folder structure:
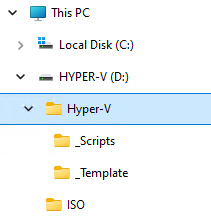
| Folder | Description | |
| D:\Hyper-V | Hyper-V root folder | |
| _Scripts | Scripts | |
| _Template | VHDX templates | |
| D:\ISO | Contains ISO files of Windows Server / Client |
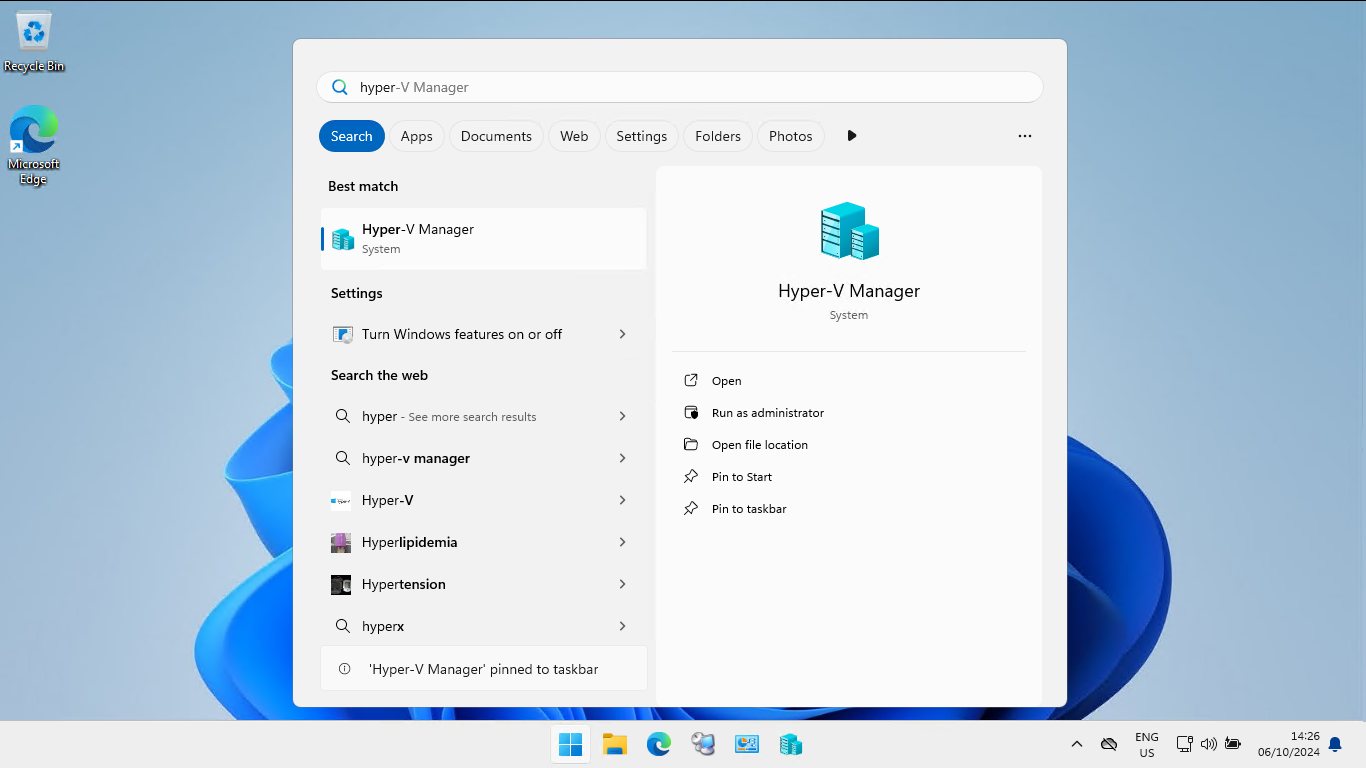
Configure Hyper-V network
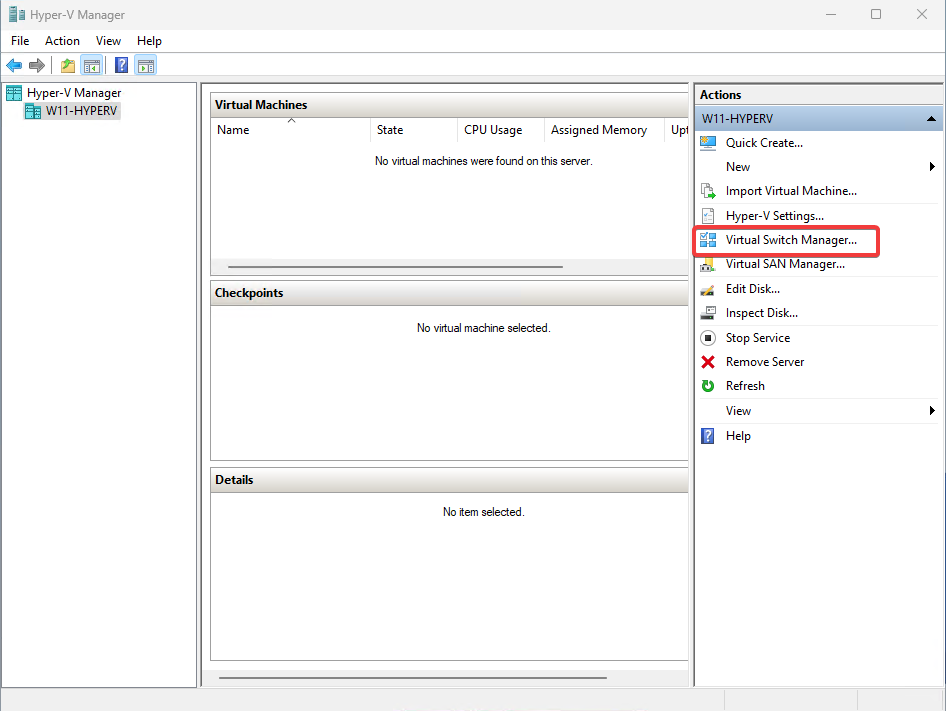
Start Hyper-V manager from the Start Menu
Click “Virtual Switch Manager…”
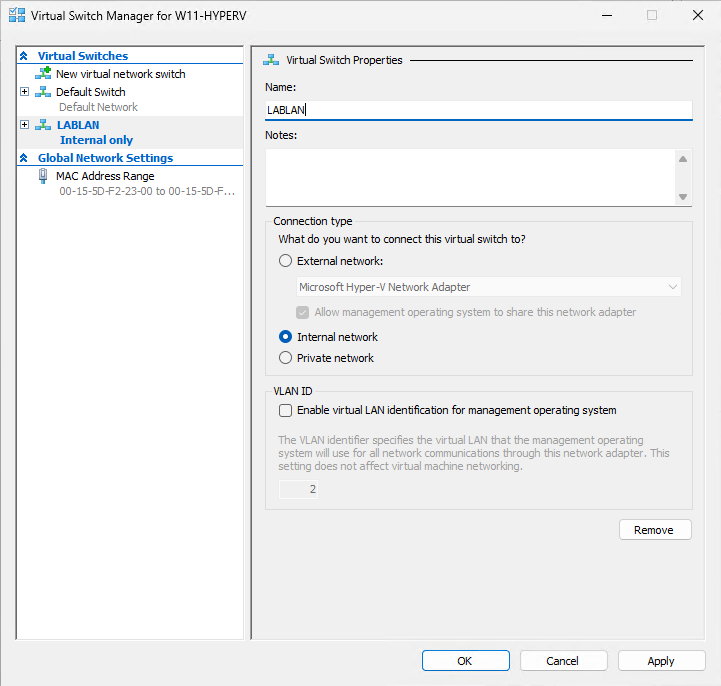
Create a new Internal Virtual Switch called: LABLAN (or another name you prefer).
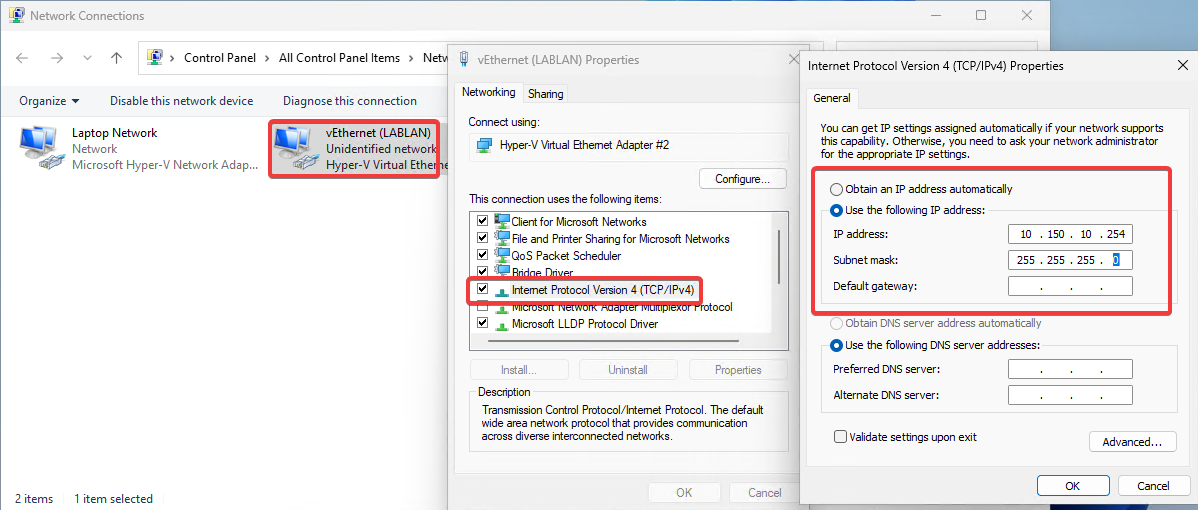
Next we need to give the network card an IP on the HOST.
- Press the Windows key + R to open the Run dialog box.
- Type ncpa.cpl and press Enter.
- Right click the LABLAN vEthernet interface, click properties and click Internet Protocol Version 4 (TCP/IP), click properties
- Enter a static IP without a default gateway, for this example I use:
IP Adress: 10.150.10.254
Subnet Mask: 255.255.255.0
Create VHDX templates
Now we create the VHDX templates. This example is created with the Preview version of Windows Server 2025. Download your ISO to the D:\ISO folder.
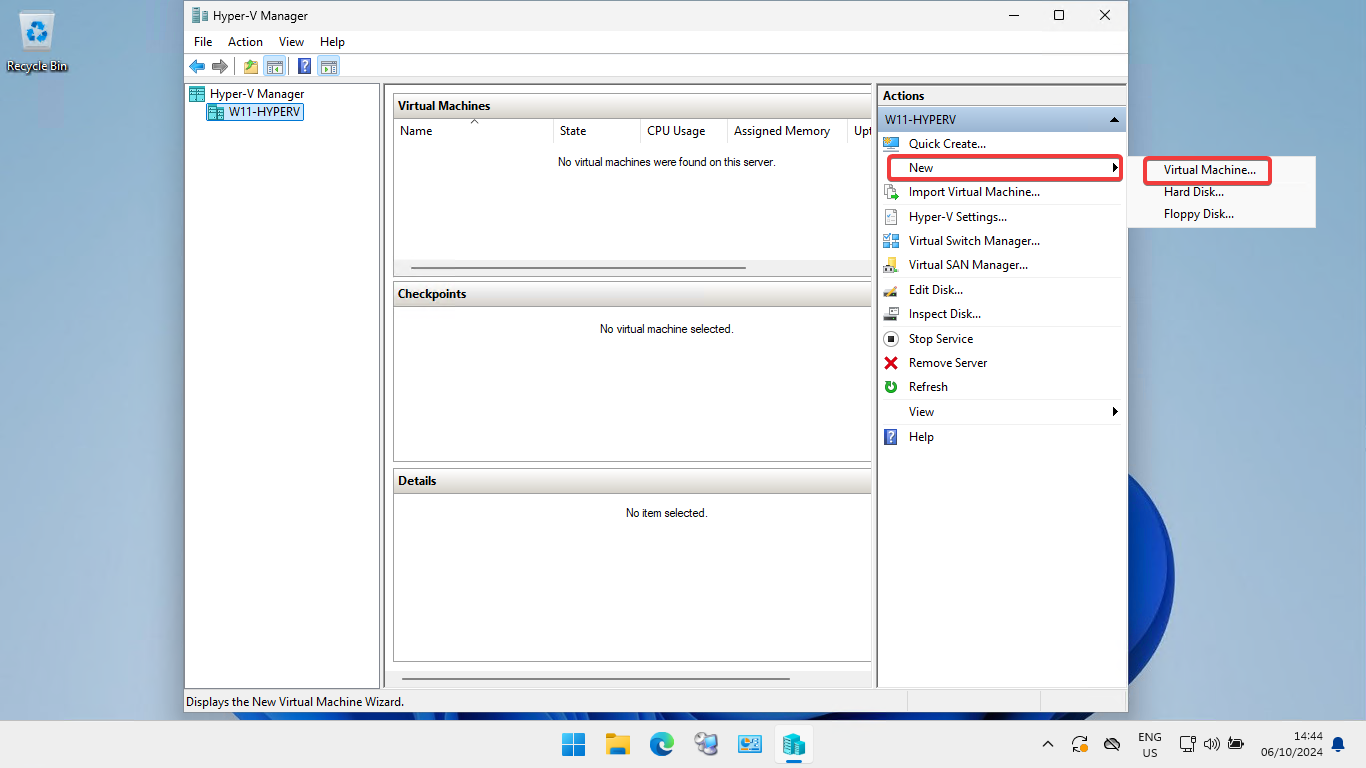
We need to create a new VM in Hyper-V manager.
Click New, Virtual Machine
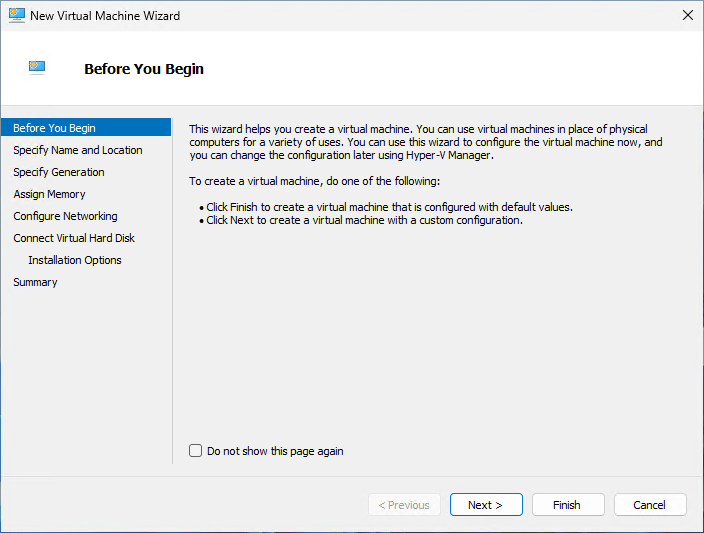
In the before you begin screen, click next.
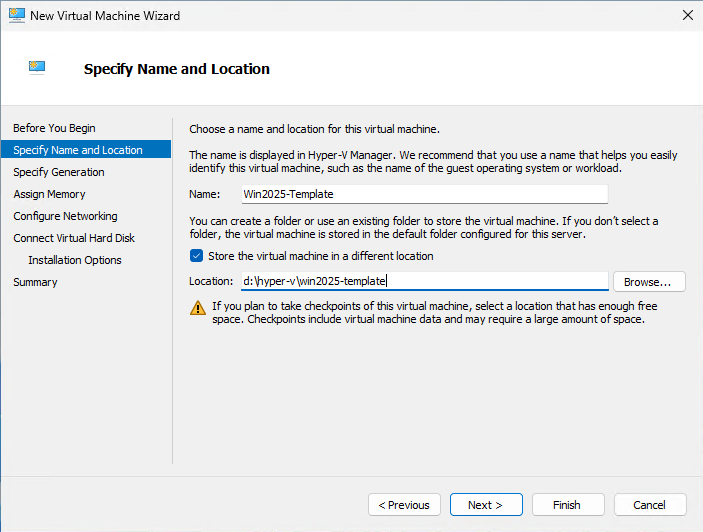
Name the virtual machine and change the path if you want:
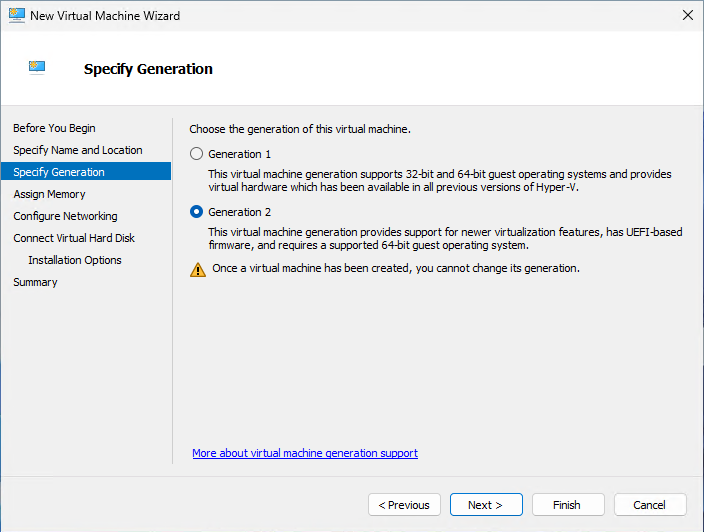
For the Windows Server 2025 I choose Generation 2, next.
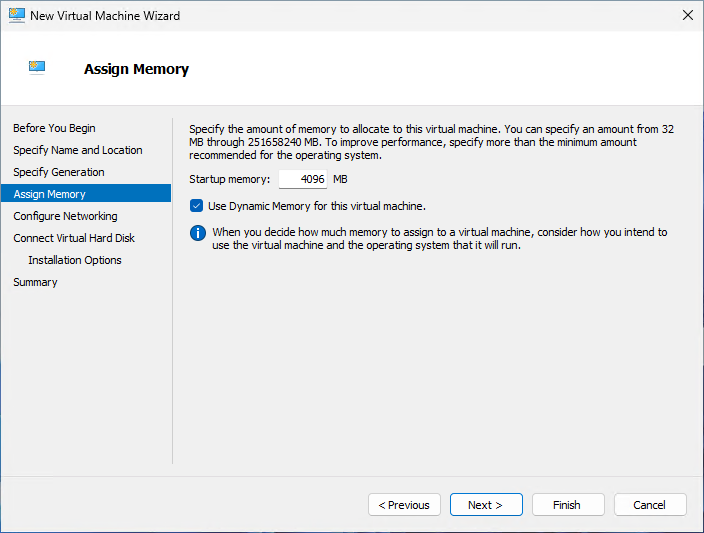
Default memory settings are fine. For just creating the template this will work.
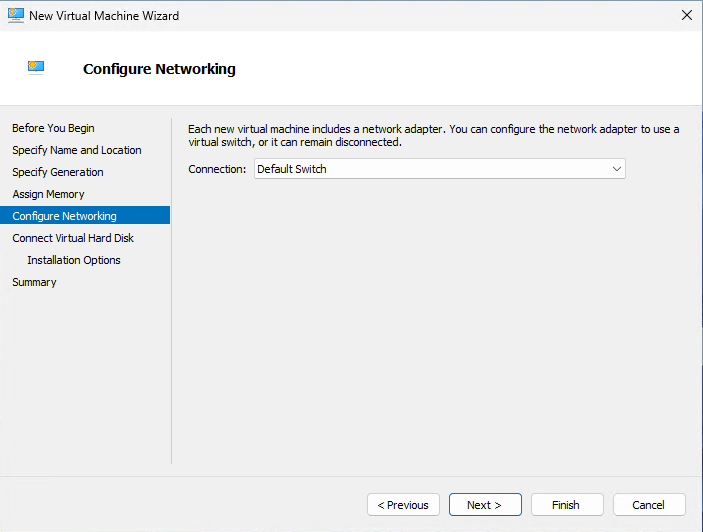
Connect it to the Default Switch (Windows 10/11 only)
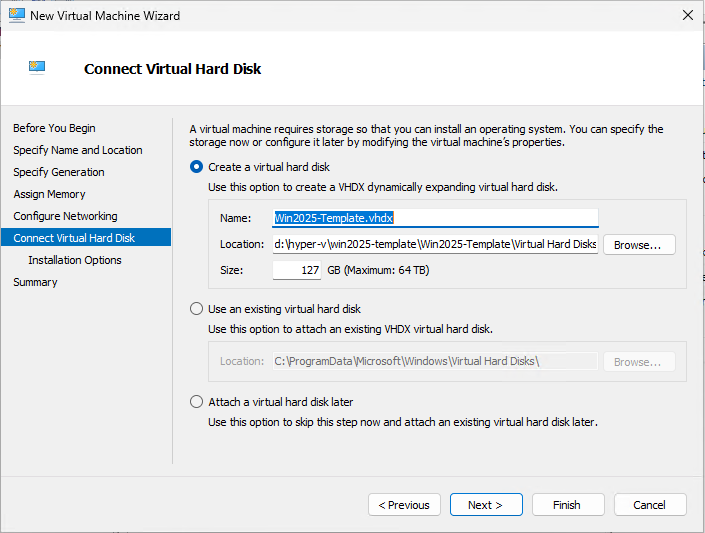
Default disk size of 127GB will do fine. Finish.
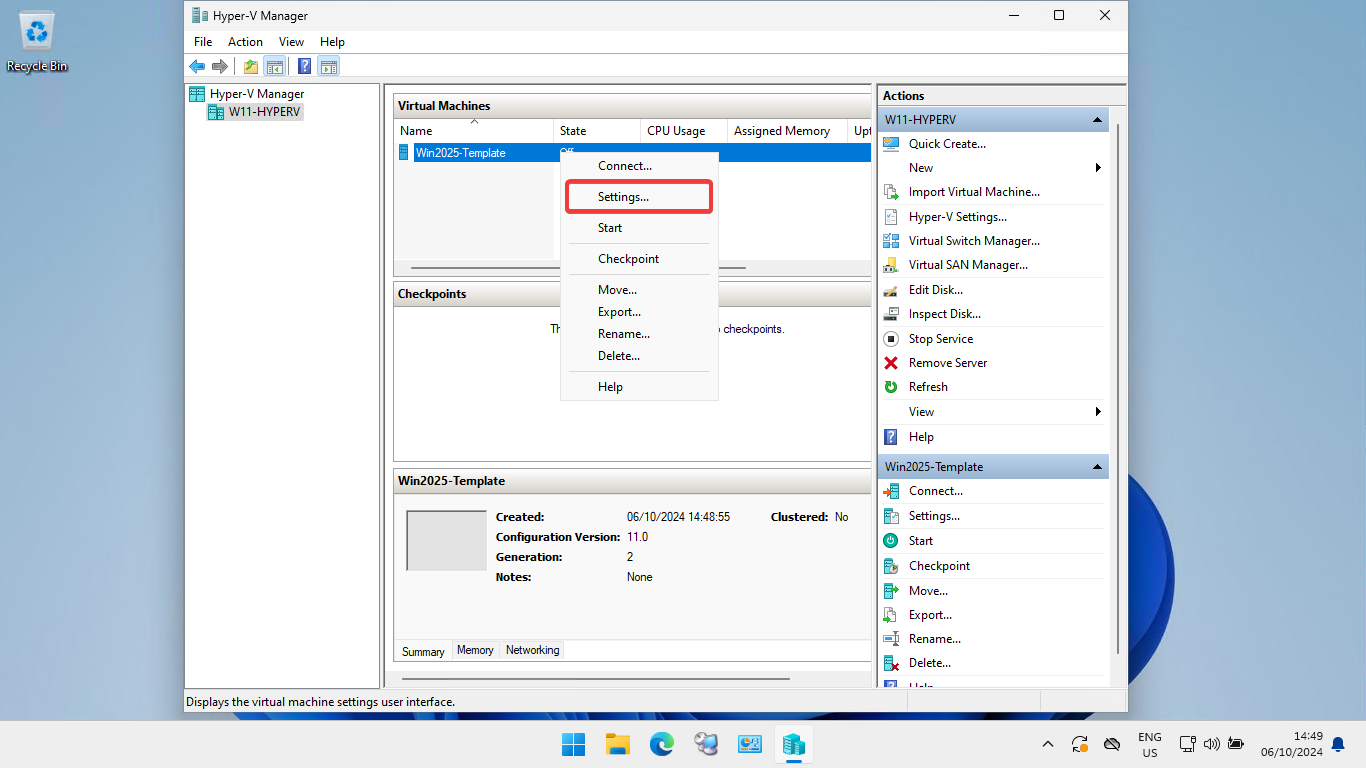
After the creation of the VM, right click the VM and click settings.
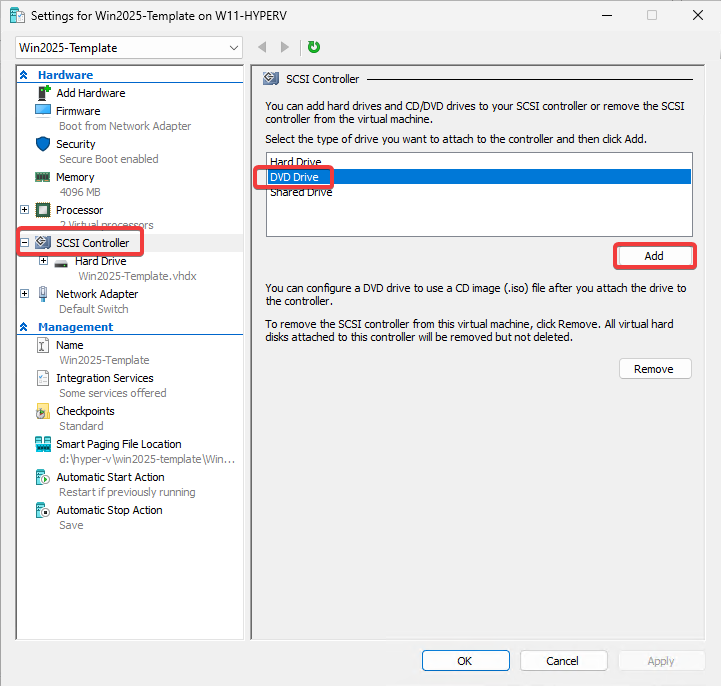
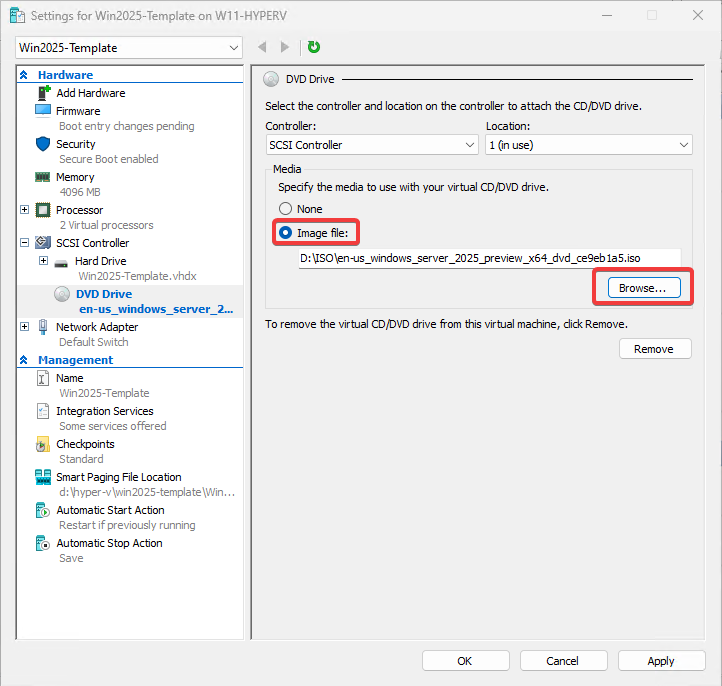
Click “SCSI Controller”, DVD Drive and Add
Click “Image file” and “Browse”, browse to the ISO file of your choosing and click Apply.
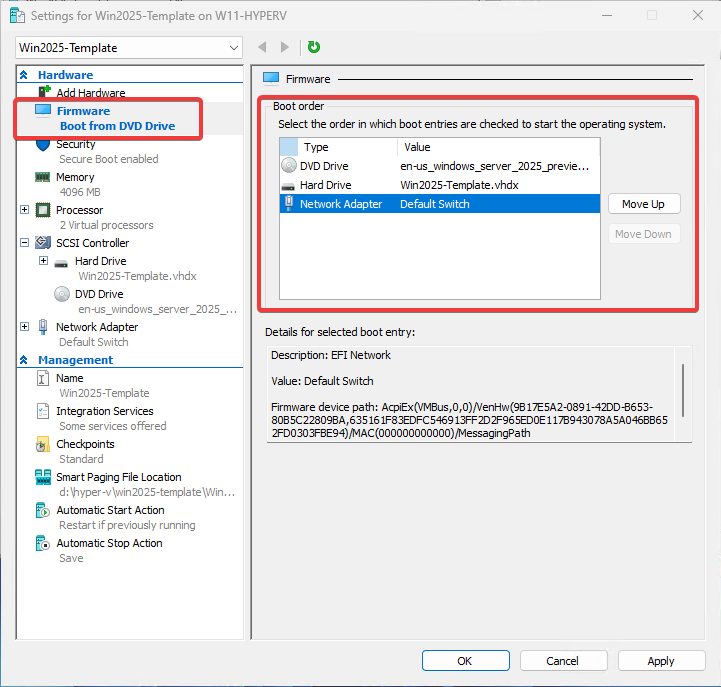
Change the boot order like in the picture. DVD Driver first, next Hard Drive then the Network Adapter. Click Apply.
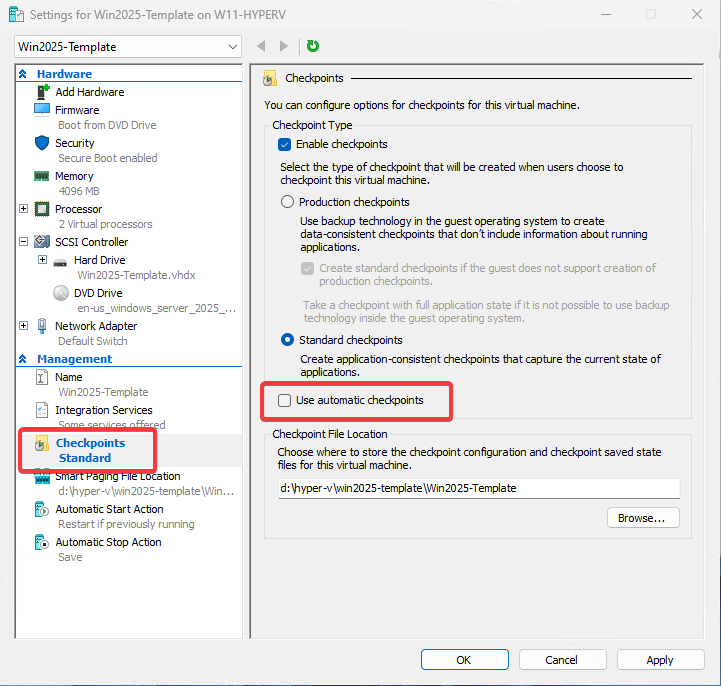
Click “Checkpoints” and disable “use automatic checkpoints”. Click OK.
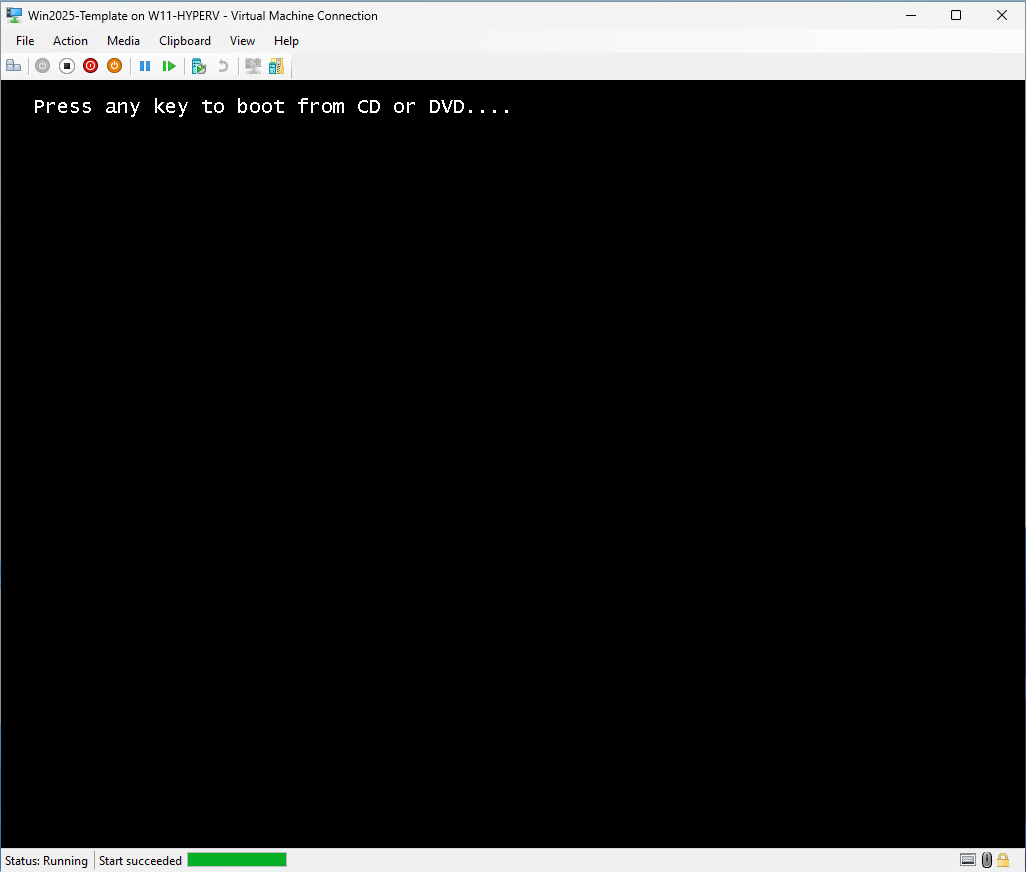
Right click the VM and click Start. Right click the VM and click Connect. The VM is booting, install the OS like you would do on a physical PC, in this case “press any key to boot from CD or DVD ….”
I will skip the install of Windows Server, just follow the wizard and finish the setup. I always customize the base image a little. I adjust the timezone, and enable RDP before I sysprep the machine.
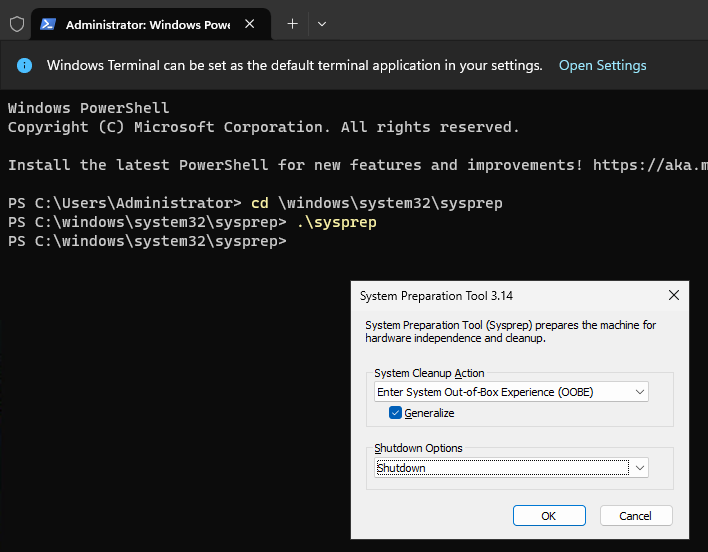
Open an elevated Terminal / PowerShell / CMD
Type this command: cd \windows\system32\sysprep
Then type this command to start sysprep: .\sysprep
In the sysprep tool, select OOBE, enable Generalize and choose Shutdown Option “Shutdown”. Click OK.
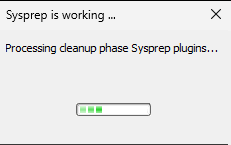
Let sysprep do it’s magic and wait for the machine to shutdown.
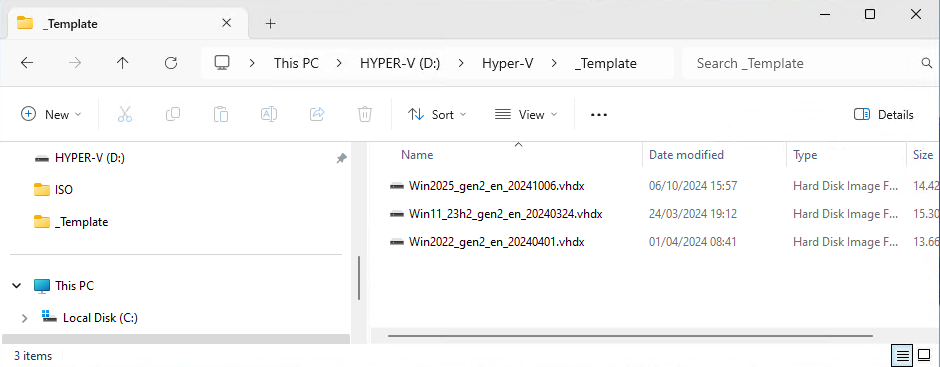
When the VM shut down, we need to cut & paste the VHDX to the D:\Hyper-V\_Template folder.
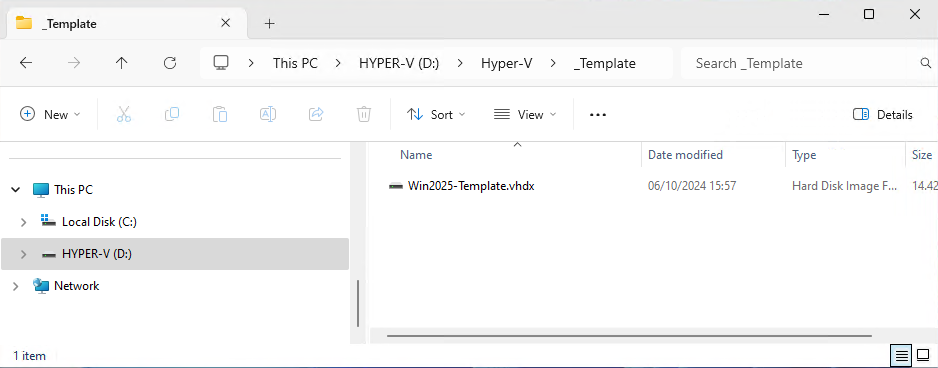
Next we rename the VHDX file:
I use this naming convention: Win<version>_gen?_<lang>_<date>.vhdx
For example: Win2025_gen2_en_20241006.vhdx
Make sure you set the correct _gen?_ part in the name, the script uses this to create a correct VM from the template.
You can now delete the Virtual Machine and remove the folder structure from the template machine. D:\Hyper-V\win2025-template
As you can see in the screenshot below, the file is renamed, and I added a few other templates.